Given that you are here, we assume you have heard the term intercepting proxy before? If not, let us help you understand what it is and more importantly, what it does.
What is an intercepting proxy?
An intercepting proxy is an application that sits between your browser and the web application. Why would you want something like that in the first place? It let’s you view the requests/response chain that is normally hidden by the browser. Still having problems understanding it, continue reading, we’ll simplify it for you.
An analogy
Think of it like a funnel(intercepting proxy), that stands between the glass you hold in your hand(web browser) and the bottle on the table(the web application). The liquid contents(server side data) have to flow from the glass through the funnel to reach the bottle. That is exactly what an intercepting proxy does. Along with allowing you to view it, you guessed right, it allows you to edit the information as well.

There are quite a few intercepting proxies out there, the ones that we normally use are
- Burp Suite
- OWASP ZAP (Zed Attack Proxy)
For all future examples, we will be using Burp Suite and there is no particular reason for doing that. It’s just a matter of preference and we use Burp Suite a little more than we use Owasp ZAP.
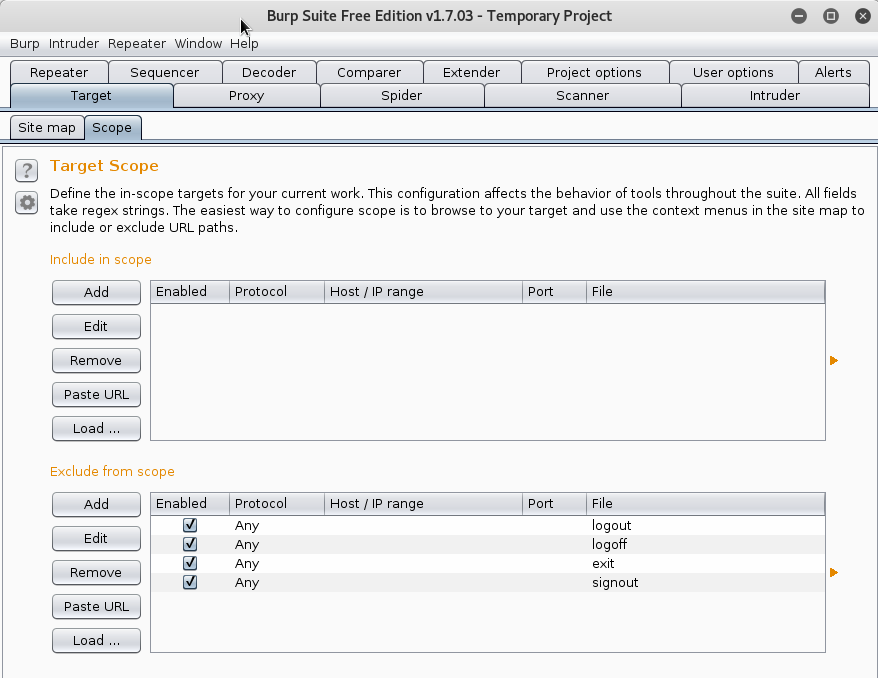
This is what Burp Suite looks like once you have run the application. It’s incredibly feature rich and over time we will help you use it’s features. But for now, let’s just configure it to be used along with the browser.
To start things off you would need to configure your network settings in the browser to use Burp Suite, to funnel all the data through it. For our browser, we will be using Mozilla Firefox for this tutorial. We would suggest installing an extension, Proxy Switcher to make it easier to swap between using/not using a proxy as and when needed. You can install Proxy Switcher from the link provided above.
Once you have done that, now all that’s left is for the browser and the intercepting proxy to talk to each other. So let’s configure the intercepting proxy first,
Click on the Proxy tab -> Options ->Under Proxy Listeners, click Add, Enter 8080 as the port number, Click OK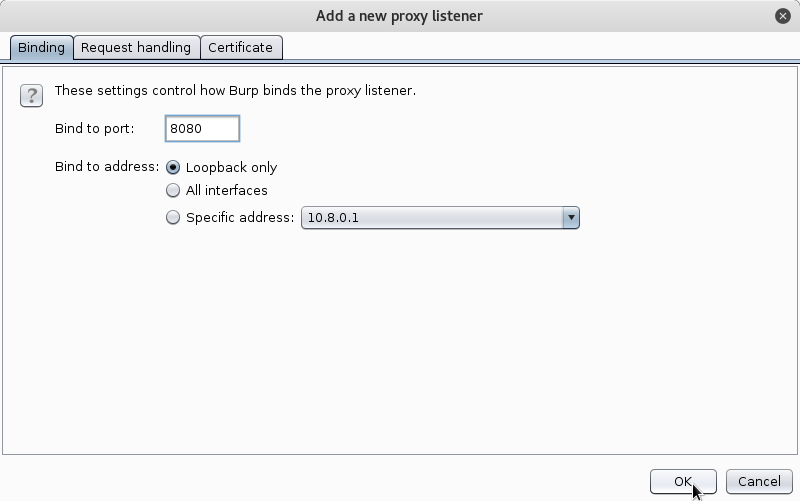
What is this 8080 you might ask?
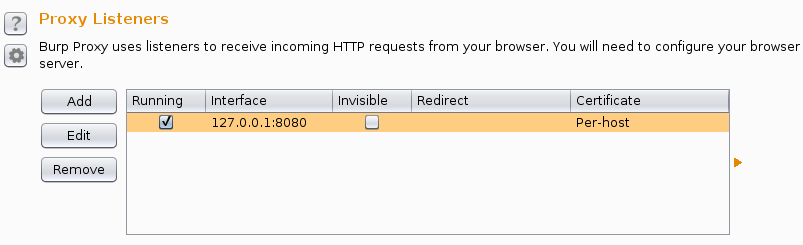
We instructed the intercepting proxy to listen to port 8080 for any signs of data traffic. You can choose any port for that matter, other than ports 0-1023(For ports below 1024, the listener does not start). Hit OK once you have chosen a port, and make sure that the check box below running is ticked. If not, you can start it by just clicking on the box. Your proxy window should look like the screen shot below. That’s it for the intercepting proxy!
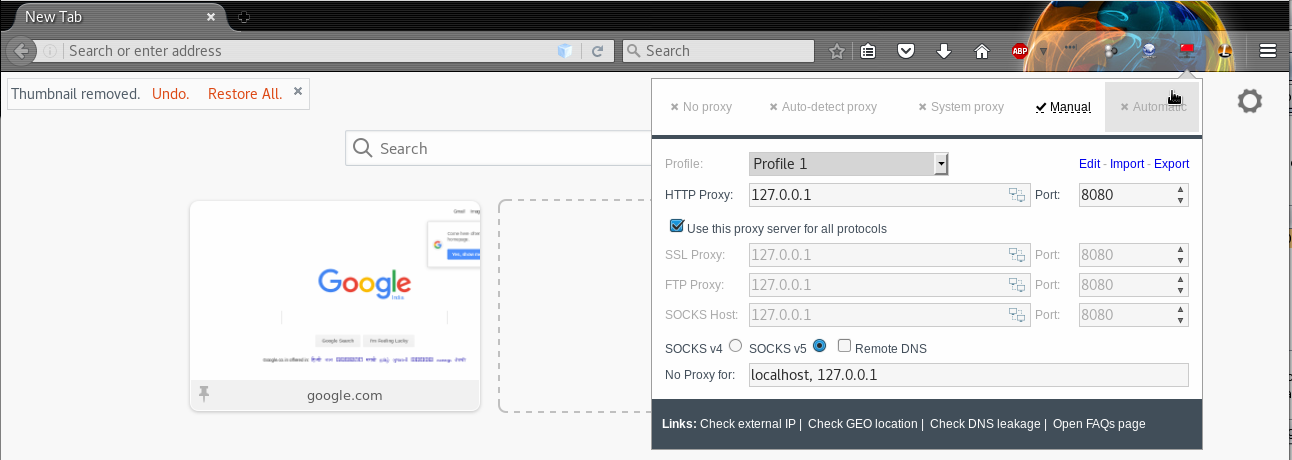
Moving on to the browser. Click on the Proxy Switcher icon in the tool-bar of the browser, if you computer does not use any proxy of any sort, by default No Proxy will be selected. No Proxy means that there is nothing configured to intercept the traffic between the web browser and the web application. We need to change that in order for our Intercepting Proxy to start seeing data. Click on Manual and under HTTP Proxy type in 127.0.0.1 and 8080 in the port field.
Let’s try visiting our first website. Let’s head over to BBC
Once you type the address in the address bar and hit enter, the Intercepting Proxy (Burp Suite) automatically catches the request.
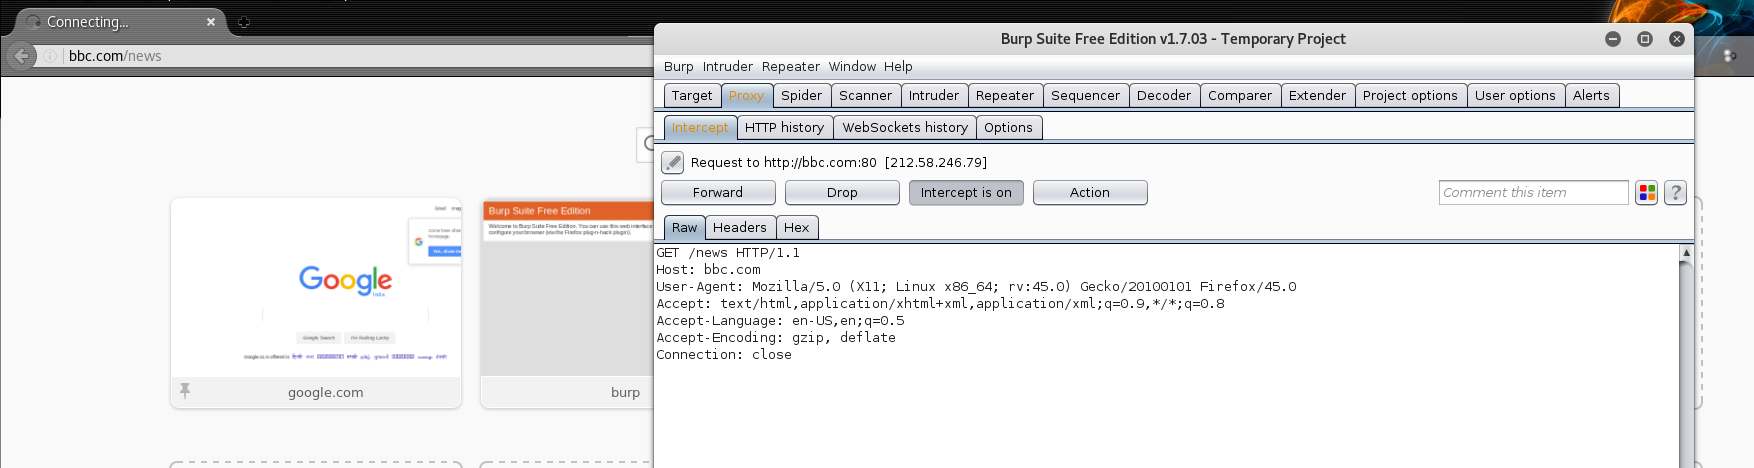
Burp Suite shows you what the browser really does in the background when it makes a request on your behalf. It shows the request in raw form, allowing you to edit the request if needed. More on this in future posts.
Click on Forward button in Burp Suite, to allow it to forward the request to the BBC server. Now we are sure that Burp Suite, our Intercepting proxy is sitting in the middle of the web browser and the web application. Let us try to visit a site that has HTTPS enabled. HTTPS stands for Hypertext Transfer Protocol Secure. If you assumed that this is a secure version of HTTP, you are absolutely correct.
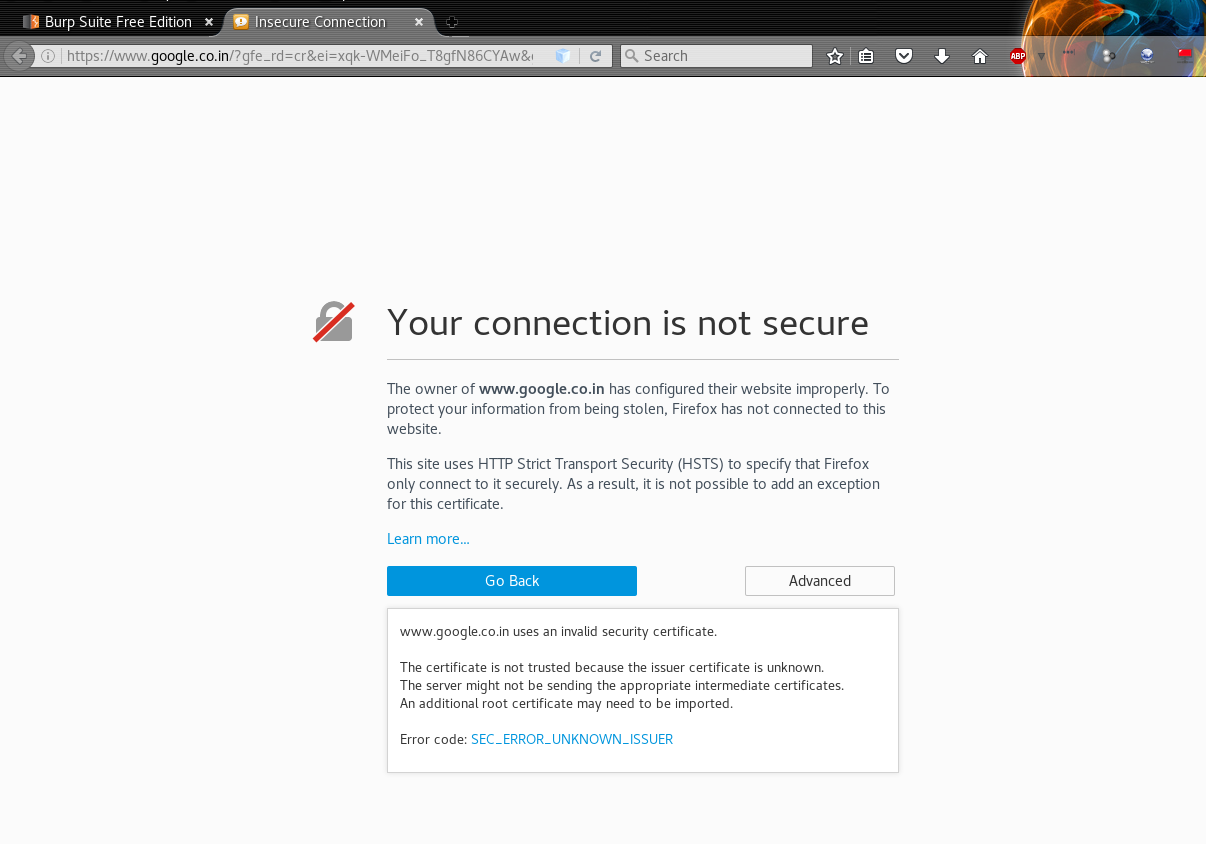
Why do sites with “HTTPS” not work?
You will soon realize that you cannot access any websites that have “HTTPS” in the protocol portion of the address bar. This is because there is no Certificate Authority signing the SSL certificates. We need to install Burp Suite’s CA certificate as a trusted root in the browser to make this work.
To do that, type in https://burp in the address bar of the browser and hit enter.
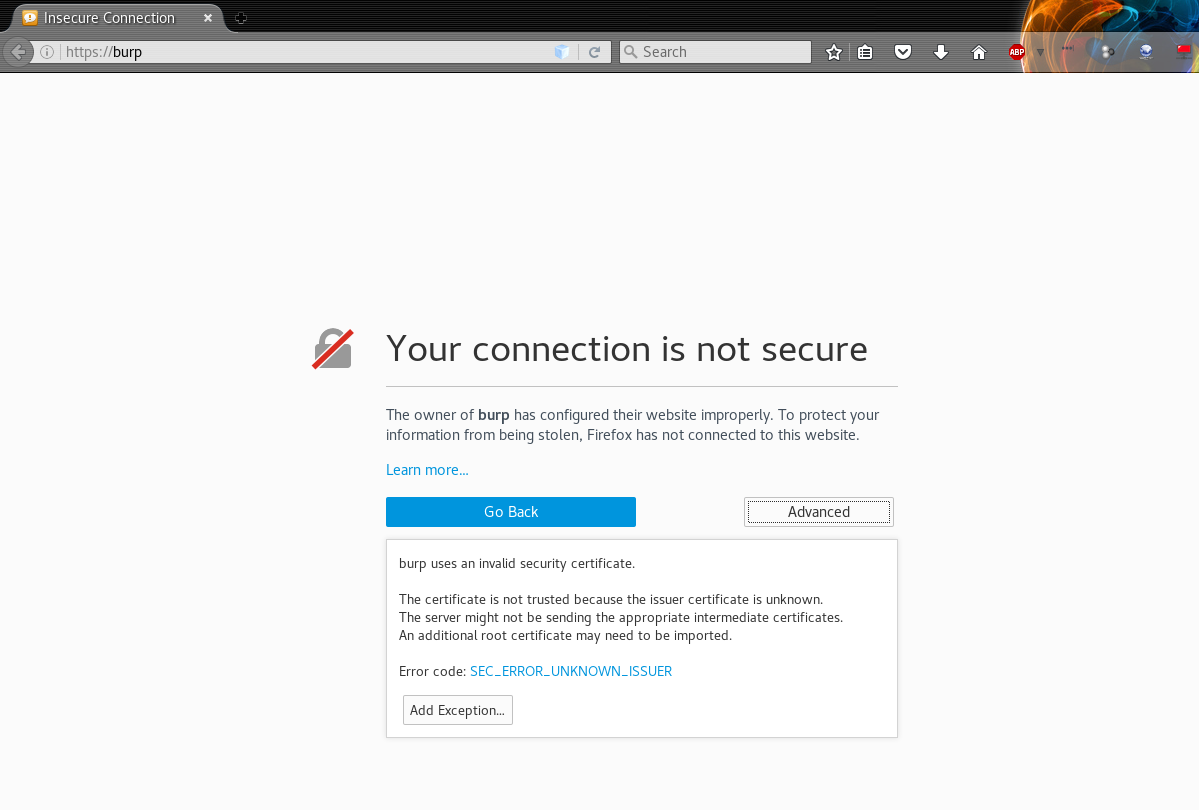
Click on Advanced -> Add Exception and you will be taken to the web page from where you can download the CA Certificate. Click on the CA Certificate link on the page, and it will show you a dialog box to download the certificate file cacert.der. Click Save.

The last step is to add this certificate as a trusted root in the browser. For this purpose, go to
Preferences – > Advanced -> Certificates -> View Certificates -> Import
Navigate to where you stored the cacert.der file, saved previously. On the pop up that appears, select Trust this CA to identify websites.
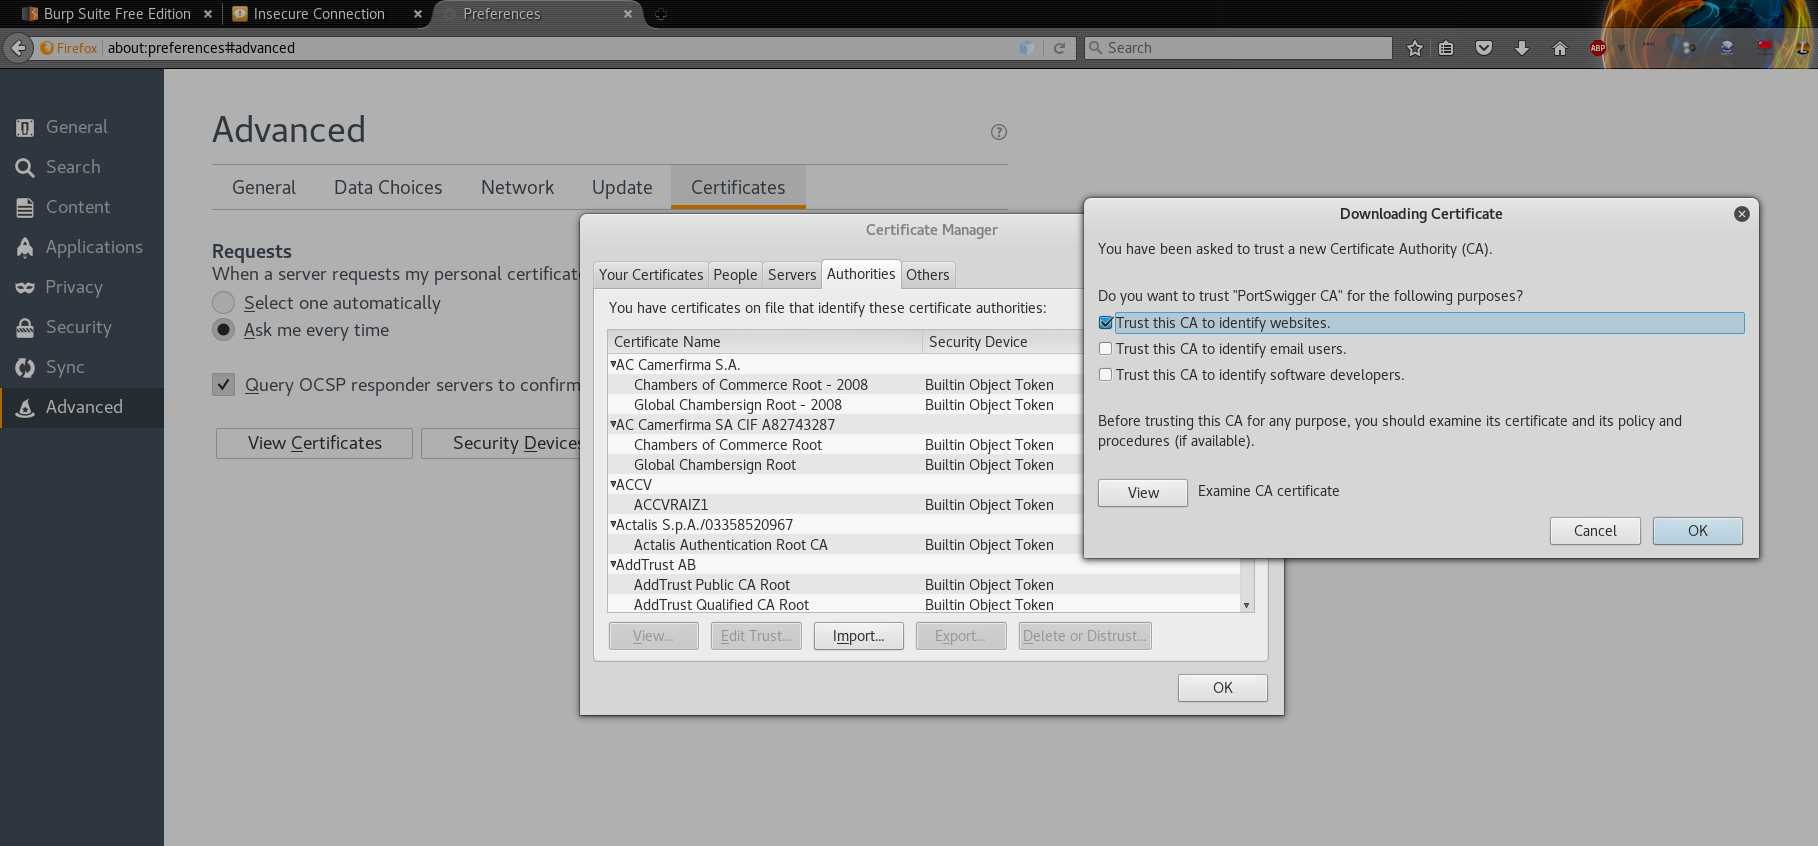
And now if you check again, your browser should load the “HTTPS” websites without much trouble. That’s it, you have successfully configured an intercepting proxy to listen to the traffic between your browser and the web application.
This is the first step in our series to help with understanding the nuances of Web Security. We intend to make this as informative as possible, while still keeping it simple. An intercepting proxy is the first step in this journey, and that’s why it finds its way here. Hope you enjoyed this post. Stay tuned for more content on Web Security.
Comments
3 responses to “Intercepting proxy and how to use it?”
Greetings! Very helpful advice on this post! It’s the
small changes that make the biggest changes. Thanks a lot
for sharing!
Thanks for the insight SJ 🙂
Thank you for writing in, there’s more to come so stay tuned! 🙂